Mechanics
(Redirected from Crafting)
Jump to navigation
Jump to search
 |
This article is a stub. You can help Abiotic Factor Wiki by expanding it. |
Player mechanics
- Death – The player character dies for a variety of reasons, dropping some items, losing equipment durability and some stats in this process
- Health – The player health is tracked by body part, being recovered over time
- Inventory – Player can store and organize items in their own inventory or in container objects
- Jobs - During character creation, the selected job applies initial skills and gives base trait points
- Skills – Player characters can improve their survival abilities by gaining experience in Skills when doing certain actions
- Status – Status effects are applied under certain conditions, providing either benefits or penalties while active
- Traits - During character creation, the player can spend and gain points by choosing positive or negative traits for their character
Survival mechanics
- Toilet Needs – The player has a toilet meter, which can be filled by using any toilet variations.
- Hunger – The player has a hunger meter, which can be filled by consuming food items.
- Fatigue – The player has a fatigue meter, which can be filled by sleeping on beds or certain couches.
- Thirst – The player has a thirst meter, which can be filled by drinking water or other drinks.
Item mechanics
- Charging – Certain items like the
 Flashlight or the
  Vacuum will consume energy on use, eventually becoming unusable if they run out of energy. Recharging stations can be used to recharge items that require energy by placing the item on the station. Colored lights on the station will show the item's current charge (blue lights) and how much is left to be charged (yellow lights).
 - Cooking – Stoves can be used to cook food. This can be done either by placing a
 Frying Pan or
  Frying Pan (Makeshift) on the stove to cook meat or by placing a
  Cooking Pot or
  Cooking Pot (Makeshift), filled with 1000ml of water, to cook soup. Soup will require ingredients to be added to the pot and different combinations of ingredients will result in different soups.
 - Crafting – Many items will need to be crafted first. Some items can be crafted from the player's inventory as long as they have the necessary resources, but most items will require a
 Crafting Bench. Crafting an item will consume the resources required. Most crafted items will generate Crafting XP, except for items in the Healing/Medical and Farming sections, which instead generate First Aid and Agriculture XP, respectively.
 - Decay – Some items, like meat and vegetables, will decay over time. Upon decaying completely, the item will then spoil and turn into something different, like
 Rotten Food.
 - Durability – Some items, like weapons and tools, will lose Durability as they're used. Upon reaching 0 Durability, an item becomes broken. Broken items can still be used, but they're less effective than normal. Items can be repaired so they'll be in working condition again (see "Repairing" below).
- Liquids – Liquids like Water and Tainted Water can be found throughout the game. They can be consumed or collected inside containers like
 Water Bottle and
  Plastic Bucket. Consuming certain liquids, like Tainted Water, might also cause certain status effects. A pot of Tainted Water can be boiled to create clean Water, though at a ratio of 4:1 (one pot of Tainted Water (1000ml) produces 250ml of Water). Liquids might also be electrified if they're close to electricity.
 - Planting – Seeds can be used to grow plants, which can then be harvested. Seeds can be planted on any
 Garden Plot (Round) or
  Garden Plot (Square). A container with water, like a
  Water Bottle, can be used to water plots. Watered crops will then grow until fully maturing after 5 in-game days. After crops are fully grown, they'll generate more harvest over time. Some seeds can be found throughout the game, but they can also be obtained by salvaging certain items or via crafting.
 - Recipe Learning – recipes are learned via a variety of interactions in game
- Recipe Researching – some recipes require the player to complete a minigame on top of learning them
- Recipe Sharing – player can share learned recipes with other players
- Repairing – Broken items, or otherwise items that have lost some Durability, can be repaired by using a
 Repair and Salvage Station, with each item requiring a different resource to be repaired. Items can also be repaired if the player has
  Duct Tape in their inventory, by right-clicking the item that needs to be repaired and choosing "Repair with Duct Tape", although this is far less effective and only repairs 5 points of Durability.
 - Salvaging – Items can be salvaged by using a
 Repair and Salvage Station. Salvaging an item destroys it and generates resources depending on the item that was salvaged.
 - Weight – Each item has its own weight. Items that the player character has equipped or is carrying in their inventory or hotbar will accumulate their weight towards the player's total weight carry. Upon reaching certain weight thresholds, the character will then suffer penalties to movement speed, stamina regeneration and jump cooldown - no penalties if the bar is blue, small movement speed penalty if the bar is yellow, higher movement speed and disabled stamina regeneration if the bar is light red and higher movement speed, disabled stamina regeneration and cooldown between jumps if the bar is bright red. Moving while the weight bar is yellow or light red will generate Strength XP, but not if the bar is bright red. Items in the hotbar have their weight reduced by around 25%.
Object mechanics
- Aim - The aim icon indicates various possible actions to take on the target when aimed at by the player.
- Area Effects –
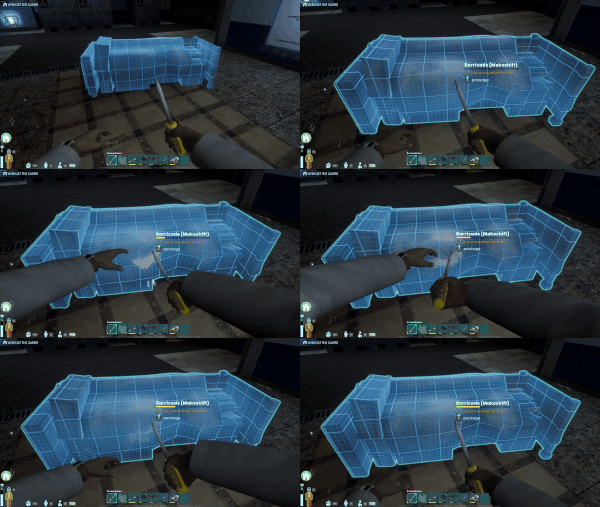
- Building – Some deployable objects require building after being placed. A
 Screwdriver,
  Makeshift Screwdriver, Hand Drill, or Power Drill is needed to build. Building generates Construction XP.
 - Dismantling - Furniture can be dismantled with the use of a
 Hammer. Dismantling furniture will destroy it and cause some items to drop, depending on the furniture that was dismantled.
 - Energy - Some objects, such as crafting benches and other workstations, must be powered to be used. Batteries can be used to store power when the facility powers down for the night.
- Inventory – Storage crates can hold items and packaged objects inside them for later use.
- Packing – Furniture and other deployable objects can be packaged by holding down the F key. Packaging furniture or a deployable object turns it into an item that can be carried in the player's inventory. Packaging furniture found throughout the game has a chance of failure - failing to package an item earns the same result as dismantling it, causing items to drop depending on the furniture that was attempted to be packaged.
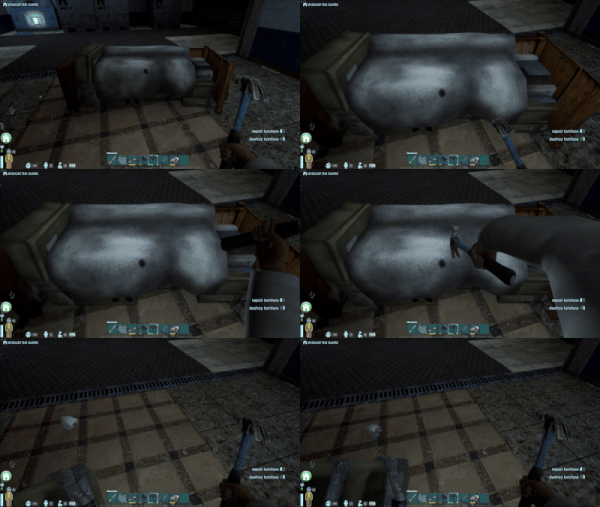
- Repairing – Furniture and other deployable objects may suffer damage if they're attacked, eventually being destroyed and dropping some items (similarly to dismantling) if their Durability reaches 0. Damaged furniture and deployable objects can be fixed by striking them with a
 Hammer. Repairing furniture and deployable objects generates Construction XP.
 - Salvaging – Furniture and other objects can often be destroyed by repeatedly attacking it, or dismantled with a
 Hammer, which drops their constituent parts on the ground. They can also sometimes be salvaged for parts at a salvage station.
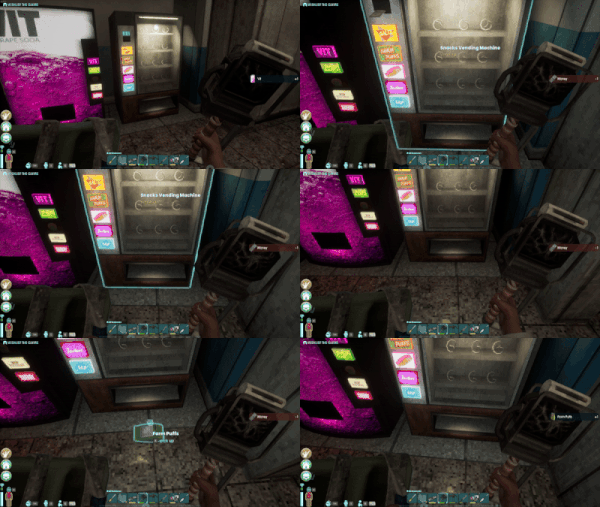
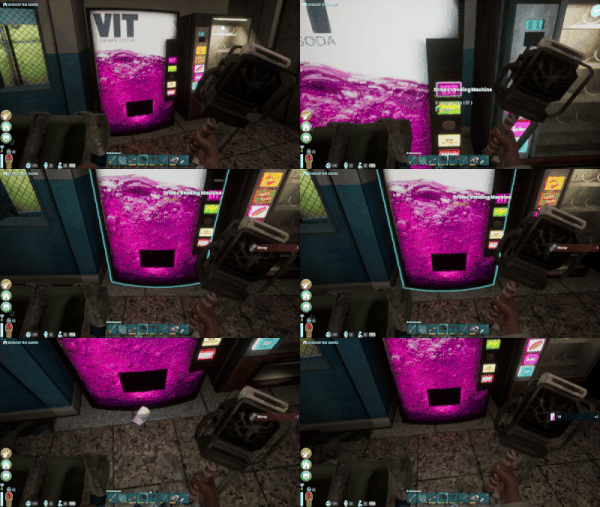
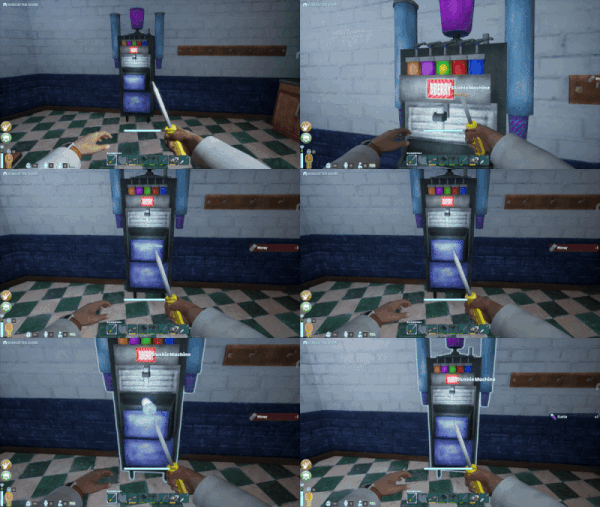
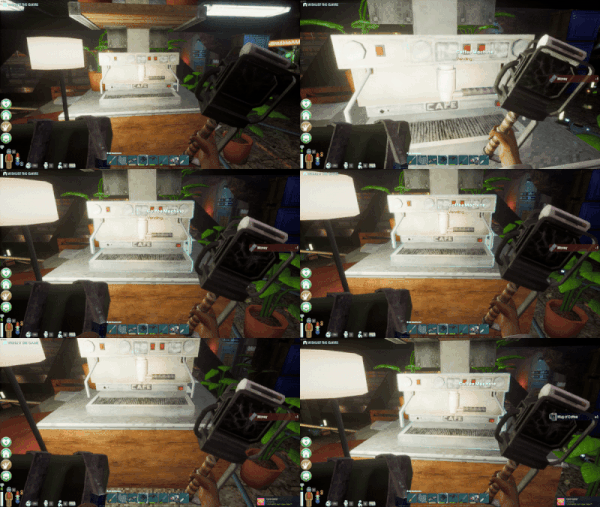
 - Vending – Vending Machines can be found throughout the game and can be used to purchase sodas, food items, coffee or a
 Slushie. Purchasing an item in a Vending Machine costs $1, or they can be shaken after reaching level 5 strength for a chance to receive a random item.
Combat mechanics
- Armor – Armor pieces reduce damage taken, but only protect the limb that they're supposed to protect. Armor weight also affects the player character's movement speed. Armor degrades upon taking damage, then loses its effectiveness if its Durability reaches 0, requiring repairs in order to be effective again.
- Chopping Remains – After an enemy is killed, their remains can be chopped up by any sharp weapon (such as a
 Knife,
  Shiv, or
  Makeshift Spear) to collect their remains. The quality of the remains obtained depends on the weapon used and the items obtained depends on the enemy killed.
 - Assault Events – On occasional nights, enemies will spawn around a selected Crafting Bench.
- Weapons – Weapons are used for attacking enemies or breaking containers like wooden boxes. They deal damage according to the weapon's value and the respective skill. Weapons degrade upon hitting anything. Upon reaching 0 Durability, a weapon can still be used, but dealing far less damage and has to be repaired in order to deal full damage again. Different weapons have different attack speeds and patterns. Blunt weapons can perform a power attack if no shield is equipped and the player has Blunt Melee level 3 and bladed weapons can be thrown if no shield is equipped and the player has Sharp Melee level 3.
Movement mechanics
- Teleports – Some areas of the facility contain portals that can bring you to certain places in the facility, and even other worlds.
- Vehicles – Forklifts and security carts can be used to navigate quickly around the GATE facility.
Environment mechanics
- Day-night cycle – Every in-game day, the power goes out at 9 PM and comes back at 6 AM of the following day. During the day, each in-game hour is the equivalent of 2 minutes in real time and, during the night, each in-game hour is the equivalent of 30 seconds in real time. When the power is out, some changes will occur: all lights will go out (except for some independent light sources, see the "Light" section below), the temperature in the facility will drop, all power outlets will stop providing energy to any deployable object connected to them (but
 Battery (Makeshift) can be used to maintain power during the night) and Security Robots will start to patrol the facility, engaging in combat with alien creatures and player characters upon spotting them, then returning to their pods when the power comes back.
 - Light – Some areas of the game are less illuminated and therefore harder to see. The power also goes out every night (see "Day-night cycle" above). In order to light darker areas, some independent light sources (for instance,
 Wall Torch,
  Desk Lamp, or
  Standing Lamp) can be used. A
  Flashlight,
  Makeshift Flashlight,
  Scrapshot FL,
  Security Pistol FL, or
  Makeshift Headlamp can also be used to light up darker areas.
 - Radiation – Carrying items that emit radiation or being close to any sources of radiation will cause the player character's radiation level to increase. Radiation levels from the environment or the character can be measured by using a
 Geiger Counter. Reaching 6 points of radiation will cause the character to acquire the Radiation Tingle status effect. Reaching 35 points of radiation will cause the character to acquire the Radiation Sickness status effect, which will cause the character to throw up once and reduce the character's radiation level by 5.
 - Temperature – Higher or lower temperatures can affect the player's character and cause certain status effects if they're too hot or too cold. The player character's temperature will increase or decrease based on certain factors like their surroundings or equipped items - for instance, when the temperature drops at night (see "Day-night cycle" above), being close to a
 Heater or a
  Crafting Bench with the Bench Warmer upgrade.
- As of Crush Depth hotfix 0.9.0.11307, ambient temperature levels have no effect on the decay rate of biomatter items stored in containers.
- Temperature changes can be reduced or resisted by wearing gear that has a Cold Resistance or Heat Resistance stat. The Weathered Trait provides +1 to both heat and cold resistance.
| Stage | Resistance Value | Effect |
|---|---|---|
| Warm | 0 | Warm |
| 1 | Comfy (Warm Resisted) | |
| Hot | 0 | Hot |
| 1 | Mild Heat | |
| 2 | Toasty (Hot Resisted) | |
| Heatstroke | 0 | Heatstroke |
| 1 | Heat Exhaustion | |
| 2 | Borderline Heatstroke | |
| 3 | Sweaty (Heatstroke Resisted) |
| Stage | Resistance Value | Effect |
|---|---|---|
| Chilly | 0 | Chilly |
| 1 | Brisk (Chilly Resisted) | |
| Cold | 0 | Cold |
| 1 | Mildly Cold | |
| 2 | Cool (Cold Resisted) | |
| Hypothermia | 0 | Severe Hypothermia |
| 1 | Moderate Hypothermia | |
| 2 | Borderline Hypothermia | |
| 3 | Frosty (Hypothermia Resisted) |


